Reviewing Machine Embroidery Photoshop Actions
As an embroidery designer who has spent years translating digital concepts into tangible, stitched memories, I approach every new tool with a mix of curiosity and caution. Recently, I had the opportunity to test Machine Embroidery Photoshop Actions, a set of graphics designed to simulate the look of machine stitching directly within your design software. For those of us running small businesses or creating unique personalized gift items for clients, the line between a digital mockup and a physical reality can sometimes blur. This review explores how these actions perform when applied to real-world product planning, from baby blankets to wedding keepsakes.
First Impressions: Charm and Detail
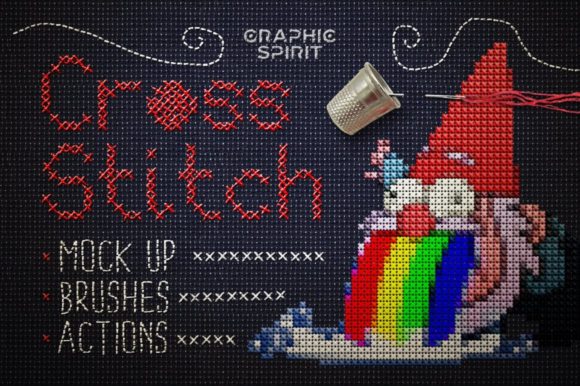
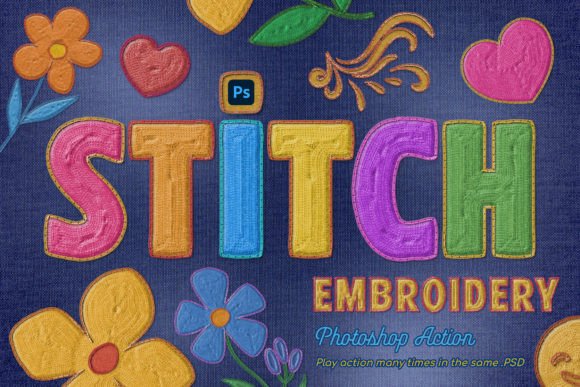
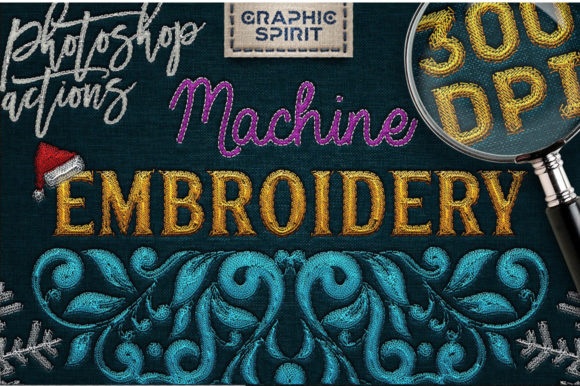
When I first loaded the action set into Photoshop, the immediate appeal was its aesthetic warmth. The goal of this tool is to make new designs look as though they were created in the style of machine embroidery, resulting in images that are 300 dpi and ready for print. My initial reaction was one of delight; the texture adds a layer of authenticity that flat vector graphics often lack. It feels sweet, slightly nostalgic, and undeniably handmade.
The charm lies in the subtle imperfections. Unlike rigid digital patterns, these actions mimic the slight variations found in real thread work. Whether you are designing for a nursery or a chic boutique, the visual weight of the "stitches" gives the artwork a tactile quality. This emotional appeal is crucial for Etsy sellers and handmade sellers because it bridges the gap between seeing a design on a screen and imagining it touching a customer’s hands. The mood is versatile—it can feel elegant for a wedding gift or playful for a child’s item, depending on the base image chosen.
Practical Applications for Personalized Products
In my workflow, I frequently use these simulations to create previews for customers before committing to actual production. Here is how Machine Embroidery Photoshop Actions integrates into various product categories:
- Baby Embroidery: For blanket embroidery or onesies, the soft texture of the simulated stitches complements the delicate nature of baby products. It helps parents visualize how names or dates will look on soft cotton fabrics.
- Kitchen and Home: When designing for an embroidered towel or a pillow cover, the action provides a realistic preview of how the design interacts with woven textures. It allows me to adjust contrast before sending the order to production.
- Wedding and Keepsakes: For wedding gifts like aprons or tote bags, the elegance of the stitch simulation elevates the perceived value. It transforms a simple graphic into a heirloom-quality concept.
- Nursery Decor: Creating art prints that mimic embroidered wall hangings is a growing trend. These actions allow me to produce high-resolution, 300 dpi files that look stunning as framed art, even if the customer never intended to have them physically stitched.
This versatility makes the tool invaluable for digital product sellers as well. You can offer printable mockups that look professionally finished, increasing trust with buyers who want to see exactly what their custom embroidery order might resemble.
Where Caution Is Required
While the visual impact is strong, no simulation is perfect. As a professional, I must advise where these actions should be used carefully. They are best suited for showcasing broad strokes and clear shapes. There are specific scenarios where relying solely on the Photoshop simulation might lead to disappointment in the final finished product:
- Small Lettering: If your design includes tiny text or intricate monograms, the simulation may not accurately represent how thin threads behave on fabric. Real thread can bleed or break, issues that digital pixels do not always predict.
- Delicate Details: Very fine lines or complex gradients might look sharp on screen but could merge together when stitched. Always review small details after stitching a sample.
- Textured and Thick Fabrics: On thick towels or heavily textured materials, the design sits differently than on smooth cotton. The simulation assumes a relatively flat surface, so keep this in mind when designing for rustic or heavy-duty items.
- Stretchy Fabrics: For stretchy baby clothes or knitwear, the stability of the design changes significantly due to the need for different stabilizers and tension settings. The action cannot replicate the potential distortion of stretch fabrics.
- Dark Fabric: While the action shows white or light threads well, simulating dark thread on dark fabric requires careful consideration of contrast that the tool might not fully convey.
Impact on Giftability and Perceived Value
Using Machine Embroidery Photoshop Actions directly influences how a small shop product is received. In the world of online sales, photography is everything. A mockup that looks like a real embroidered item builds customer trust faster than a generic flat image. It suggests attention to detail and craftsmanship.
For custom orders, showing a client a realistic preview reduces anxiety. They can see how the thread colors interact with their chosen background. This transparency enhances the emotional connection to the purchase. When a buyer sees a design that looks authentically stitched, they perceive higher perceived value. It justifies premium pricing for personalized gift items because the effort and artistry are visibly communicated.
Essential Embroidery Notes for Designers
Before using these visuals for commercial purposes, remember that a digital simulation is just that—a simulation. To ensure your commercial embroidery projects succeed, follow these practical steps:
- Test on Scrap Fabric: Never rely solely on the screen. Stitch out a test version to check the actual stitch density and how the threads lay on the material.
- Check Thread Color Contrast: Ensure there is enough contrast between the thread and the fabric. The action may exaggerate brightness or saturation.
- Confirm Hoop Size: Make sure your design fits within the standard hoop size constraints of your machine, especially for larger items like pillow covers.
- Use Proper Stabilizer: The choice of stabilizer (cut-away vs. tear-away) drastically affects the final look, particularly on fabric texture variations.
- Compare Light and Dark Mockups: Review your design against both light and dark backgrounds to ensure versatility.
- Verify Licensing: Before selling any finished product based on these graphics, confirm the commercial licensing terms. Ensure you have the right to sell items made from designs created or modified with these actions.
Ultimately, Machine Embroidery Photoshop Actions is a powerful asset for the modern embroiderer. It streamlines the creative process, allowing for rapid prototyping of add-ons and graphics that resonate with today’s market. By combining these digital tools with traditional embroidery knowledge, you can create beautiful, meaningful products that stand out in a crowded marketplace.